Channels & deploy
Put your agent on your website, WhatsApp, and Telegram — and brand it to match.
The Channels tab (labeled Deploy) is where you make an agent live and connect it to the places customers actually reach you: your website, WhatsApp, and Telegram. A single Public toggle gates everything — your agent must be public before you can generate a widget URL or embed it anywhere.
Make your agent public
- Open the agent → Channels.
- Turn on the Public toggle at the top of the page.
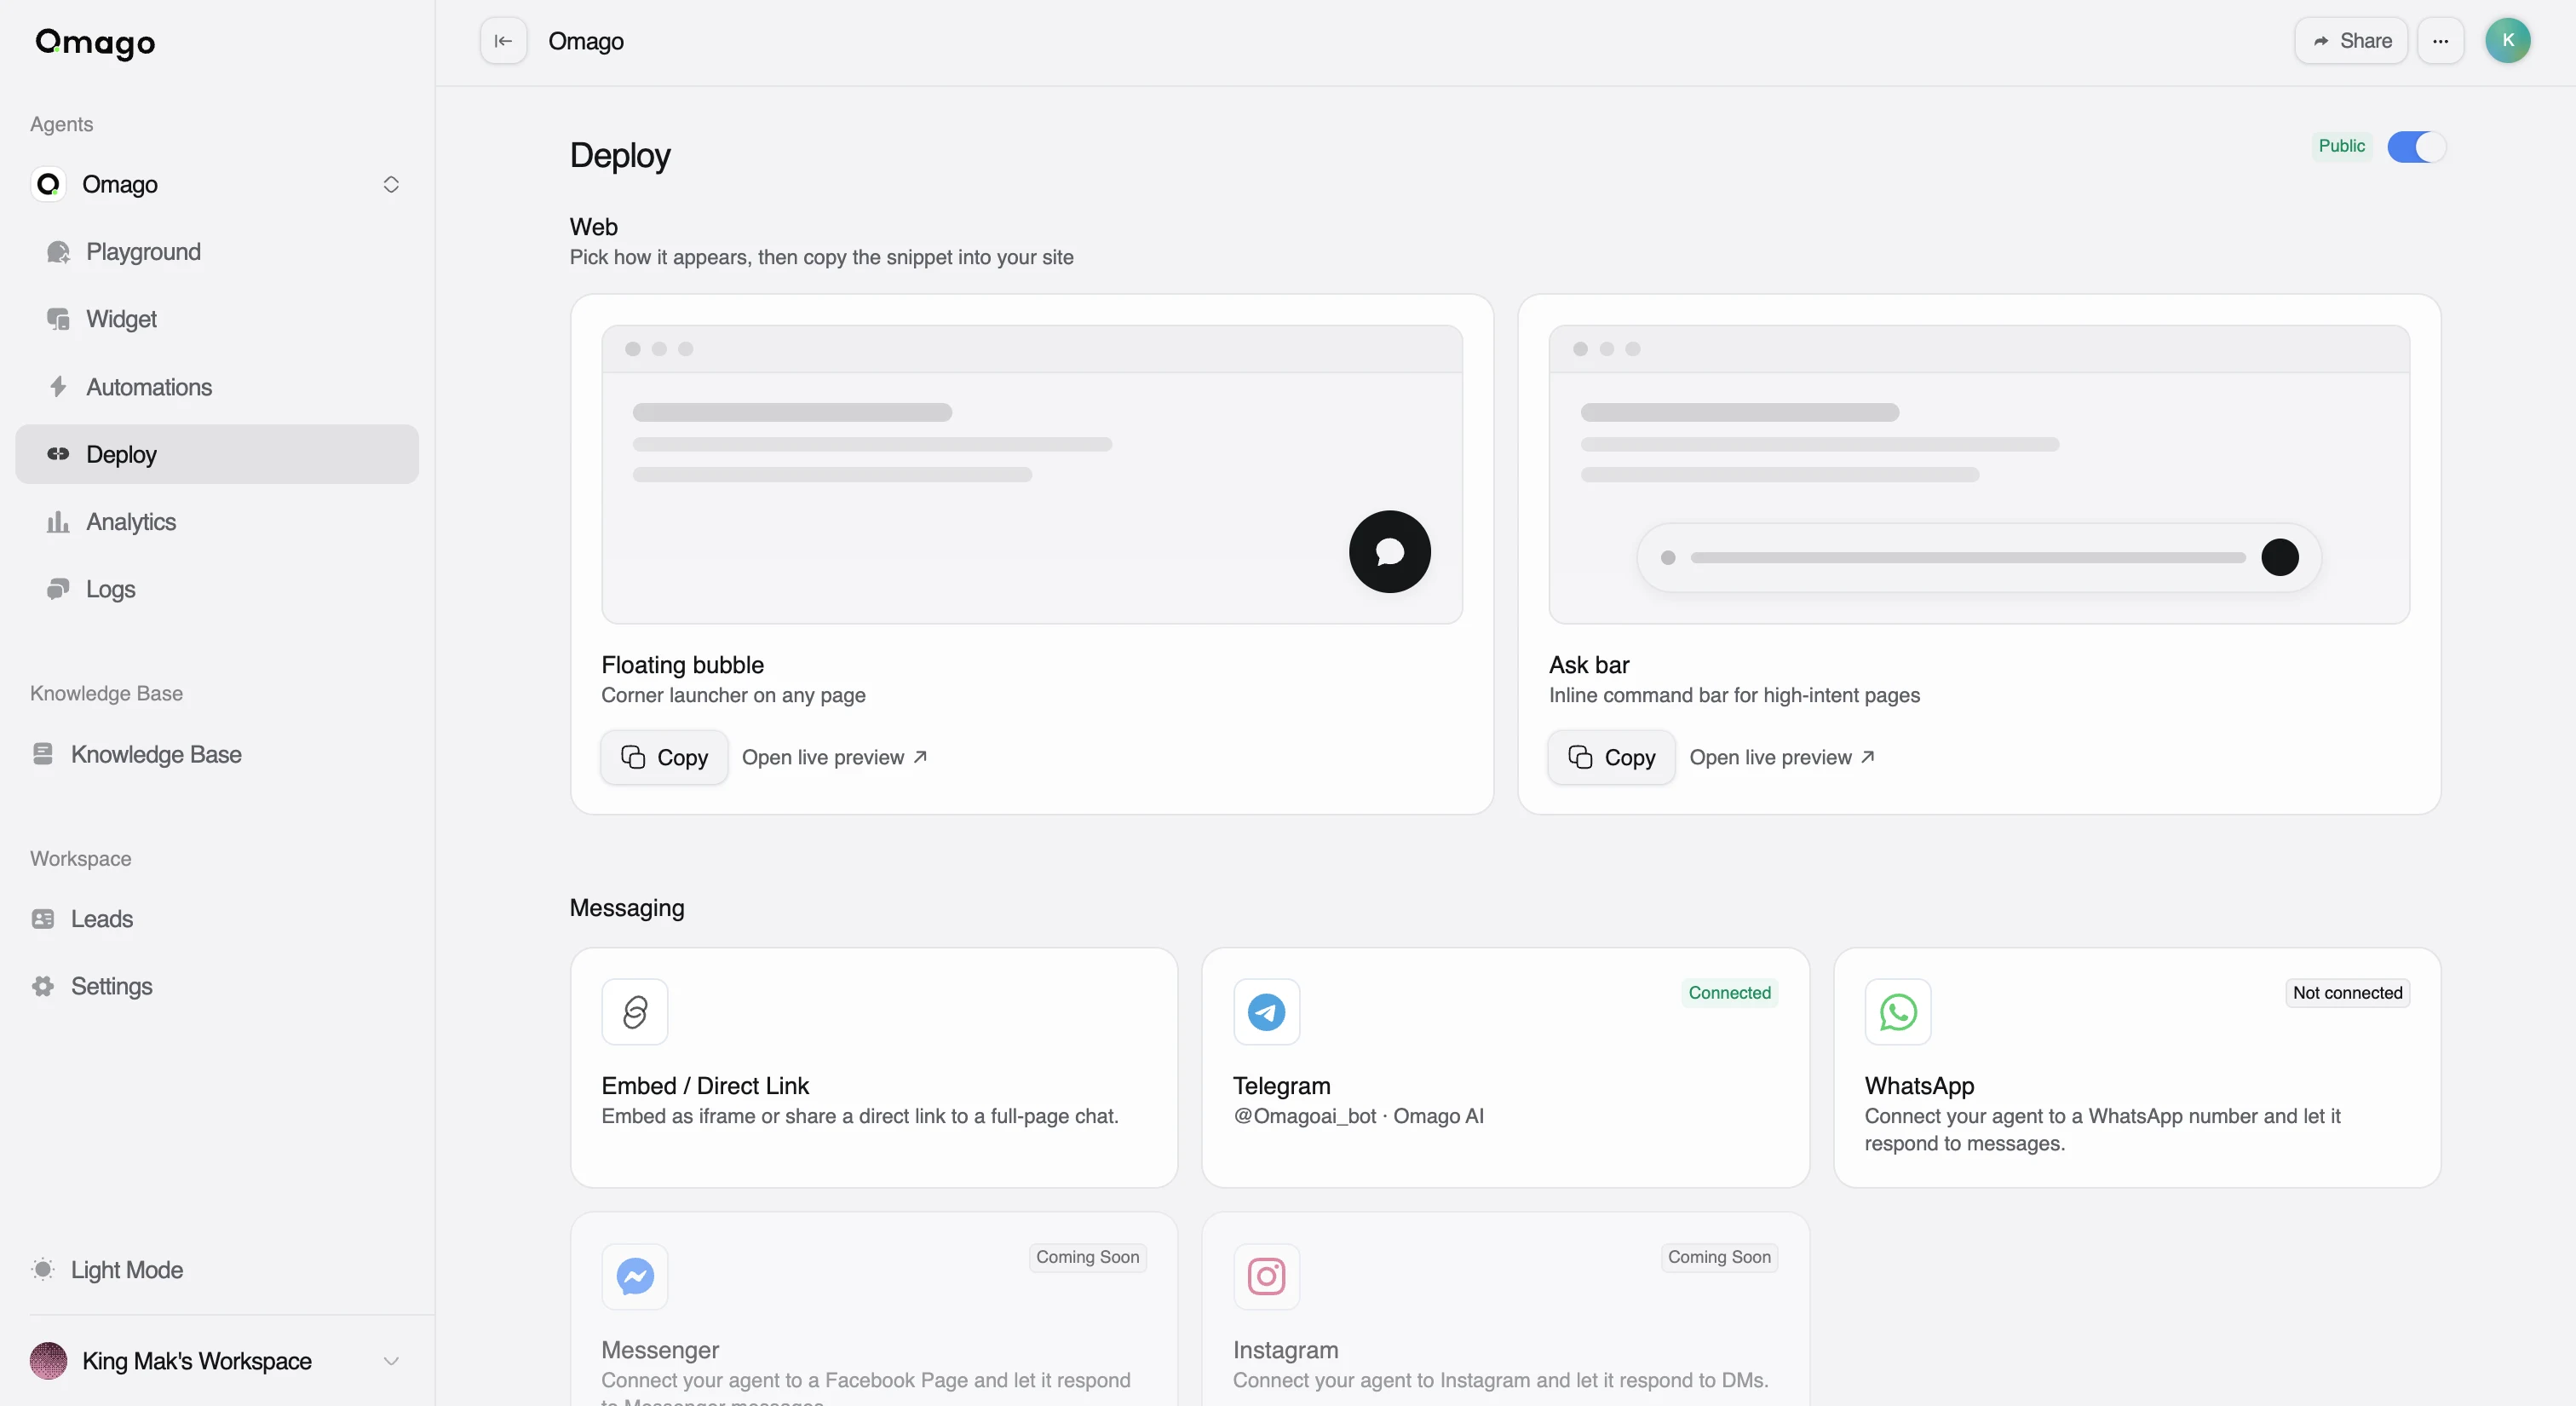
If you try to copy a widget URL while the agent is still private, you'll get an error telling you to make it public first.
Add the chat widget to your website
The chat widget is a floating chat window that sits in the corner of your site. It's included on every plan, including the free Starter plan.
- Open the agent → Channels, and make sure Public is on.
- Under Web → Chat Widget, click Setup.
- Click Copy to get your snippet.
- Paste it into your website's HTML, ideally just before the closing
</body>tag.
Style and brand the widget — colors, icon, welcome message, suggested questions — in the Widget tab (see Style your widget below).
Embed the chat as an iframe or full page
If you'd rather embed the chat inside a page you control, or link straight to it, use Embed / Direct Link instead of the floating widget.
- Open the agent → Channels, and make sure Public is on.
- Under Web → Embed / Direct Link, click Setup.
- Click Copy on the Embed / Direct Link card to get the iframe code, or grab the direct URL to link straight to a full-page chat.
Connect WhatsApp
WhatsApp availability may depend on your plan — open Channels → Messaging to see whether it's available on your current plan, or check Settings → Billing → Plan.
- Open the agent → Channels → Messaging.
- Next to WhatsApp, click Connect.
- Complete the Facebook Embedded Signup flow.
Once connected, Omago stores your WhatsApp business phone number, display name, and connection status, and the channel badge switches to Connected.
Connect Telegram
Telegram availability may also depend on your plan — check the Messaging section or Settings → Billing → Plan if you don't see it.
- Open the agent → Channels → Messaging.
- Next to Telegram, click Connect.
- Paste your bot token. Omago validates it and shows an error in a toast if it's invalid.
Once connected, the channel badge switches to Connected and you can manage the bot from the same card.
Messenger and Instagram
Messenger and Instagram are not available yet. Both show as "Coming soon" in the Messaging section and their Connect buttons are disabled. Today you can deploy through Web (widget and embed/direct link), WhatsApp, and Telegram only — don't tell customers Messenger or Instagram support is live.
Style your widget
Branding lives in the Widget tab, separate from Channels (which only handles deployment).
- Open the agent → Widget.
- Set the Primary Color and Color Scheme (Light or Dark) to match your site.
- Upload an Icon (PNG, JPEG, GIF, WebP, or SVG, up to 5 MB) — this is reused as both the welcome icon and the agent's avatar.
- Write a welcome Title and Description.
- Add up to 6 Suggested Questions (100 characters each) for customers to tap, and drag to reorder them.
Changes preview live next to the settings panel as you edit.
Remove the "Powered by Omago" badge
By default, the widget shows a "Powered by Omago" badge. Hiding it requires the Remove Branding add-on (included free on Enterprise) — see current pricing on Settings → Billing → Add-ons.
- Buy the add-on: Settings → Billing → Add-ons.
- Open the agent → Widget.
- Turn off the Show "Powered by" toggle.
Without the add-on, this toggle is visible but locked on, with an "Unlock" link back to the Add-ons page.